
River Photography Tips for Capturing Light and Composition in the Grand Canyon
Photographing a river inside the Grand Canyon is different from shooting still landscapes. The light shifts fast. The water never stops moving. One minute you’re floating through open sun, and the next you’re framed by towering canyon walls. That mix is exactly what makes river photography so rewarding, and also challenging.
Whether you’re rafting the Colorado River or hiking down to the water’s edge, strong photos come from learning how light behaves in the canyon and how to compose scenes that work with the river, not against it.
Why Rivers Are Tricky and Beautiful to Photograph
Rivers bring motion into every frame. Reflections change by the second. Ripples catch light in unpredictable ways. In the Grand Canyon, add steep rock faces and deep shadows, and you get scenes with strong contrast and texture.
This is what gives river photos their energy. It’s also why paying attention to light direction and composition matters more here than in many other outdoor settings.
Working With Natural Light on the River
Light along the Colorado River rarely stays consistent for long. Canyon walls block and reflect sunlight, creating pockets of brightness and shade that move as the day goes on.
Early morning and late afternoon usually offer the most forgiving light. Shadows are softer. Highlights don’t blow out as easily. Midday sun can still work, especially when clouds soften it or when reflected light bounces off canyon walls. In those moments, watch how light skims across the water rather than hitting it head-on.
If you’re shooting from a raft, stay alert. Scenes appear quickly and disappear just as fast.
Using Golden Hour to Add Mood and Depth
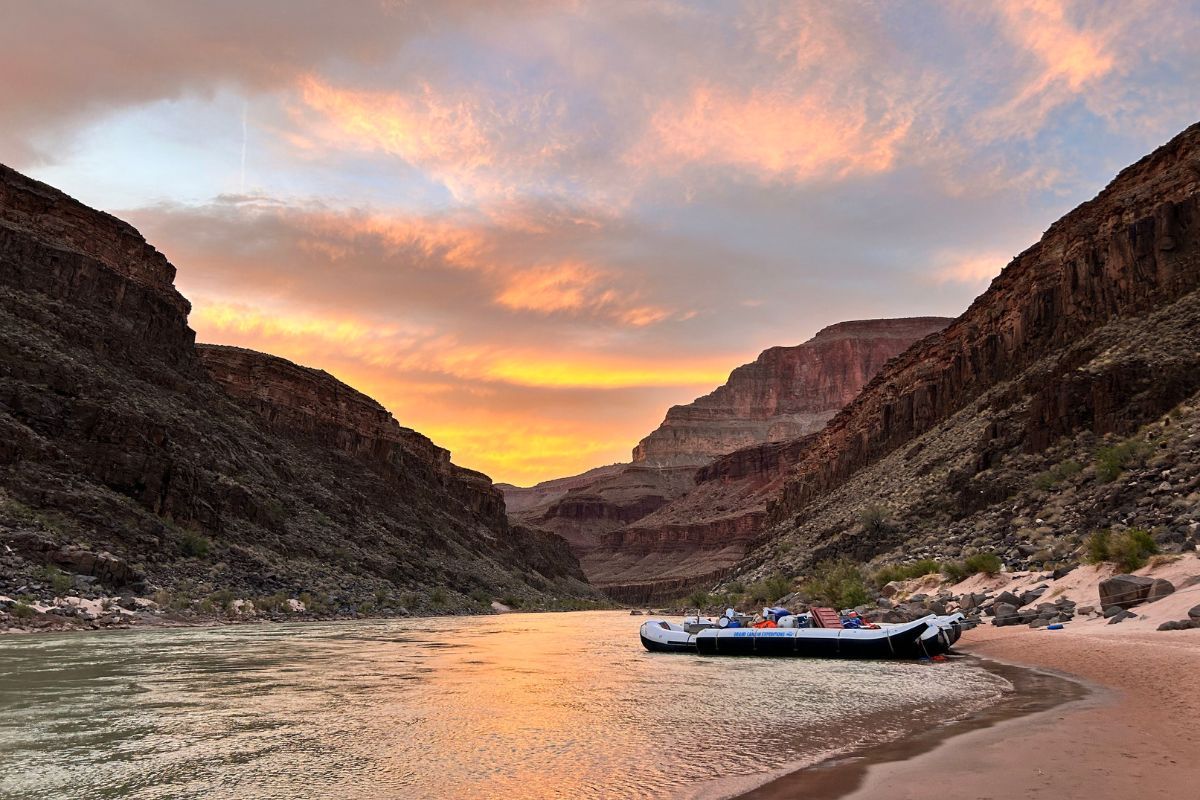
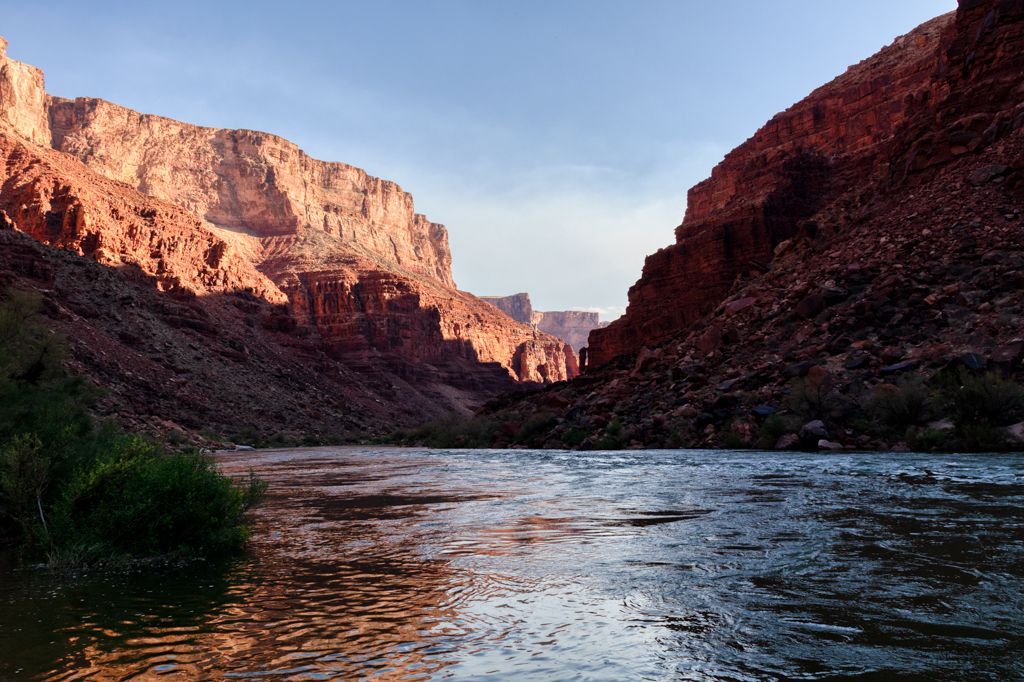
Golden hour is one of the best times for river photography in the canyon. Low-angle light adds warmth to the rock layers and texture to the water’s surface. Long shadows help shape the scene and guide the eye.
During these moments, look for calm stretches of water where reflections stay intact. Gentle bends in the river work well here. They create natural curves that pull viewers into the frame while catching soft light along the edges.
Sunrise can feel quiet and cool. Sunset often brings richer color. Both are worth planning around when possible.
Composing River Photos That Feel Intentional
Good composition gives structure to the chaos of moving water. Simple techniques go a long way.
Use the river itself as a leading line. Let it guide the viewer through the image. Place the horizon or canyon rim thoughtfully so it doesn’t cut the frame in half. Small adjustments in camera height can change how water patterns and reflections appear.
Don’t rush. Even from a raft, take a second to frame the scene before pressing the shutter.
Adding Depth With Foreground and Background Elements
Depth makes river photos feel immersive. Foreground elements like rocks, driftwood, or the edge of a raft help anchor the scene. They give scale and context.
Midground details, such as ripples or small rapids, keep the viewer engaged. Background features like canyon walls, distant bends, or cloud-filled skies complete the story.
Layering these elements creates images that feel three-dimensional instead of flat.
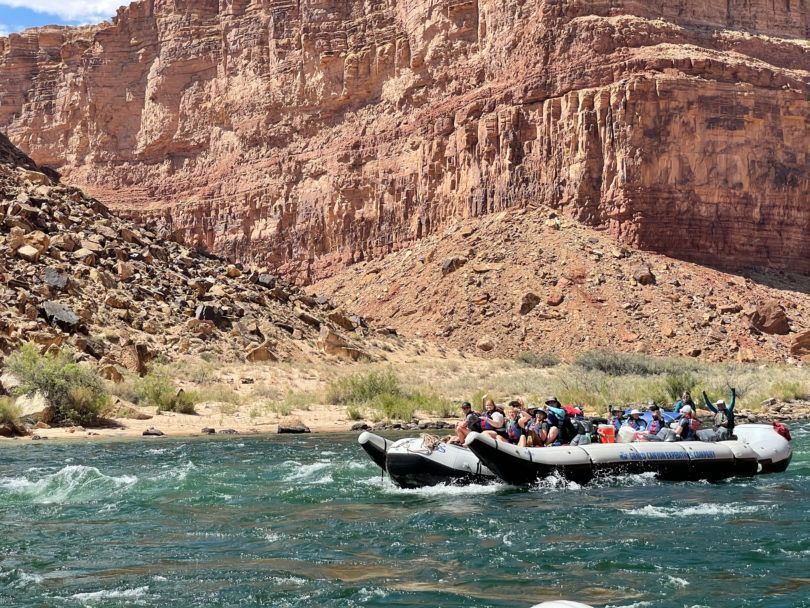
Shooting From a Raft Versus the Shore
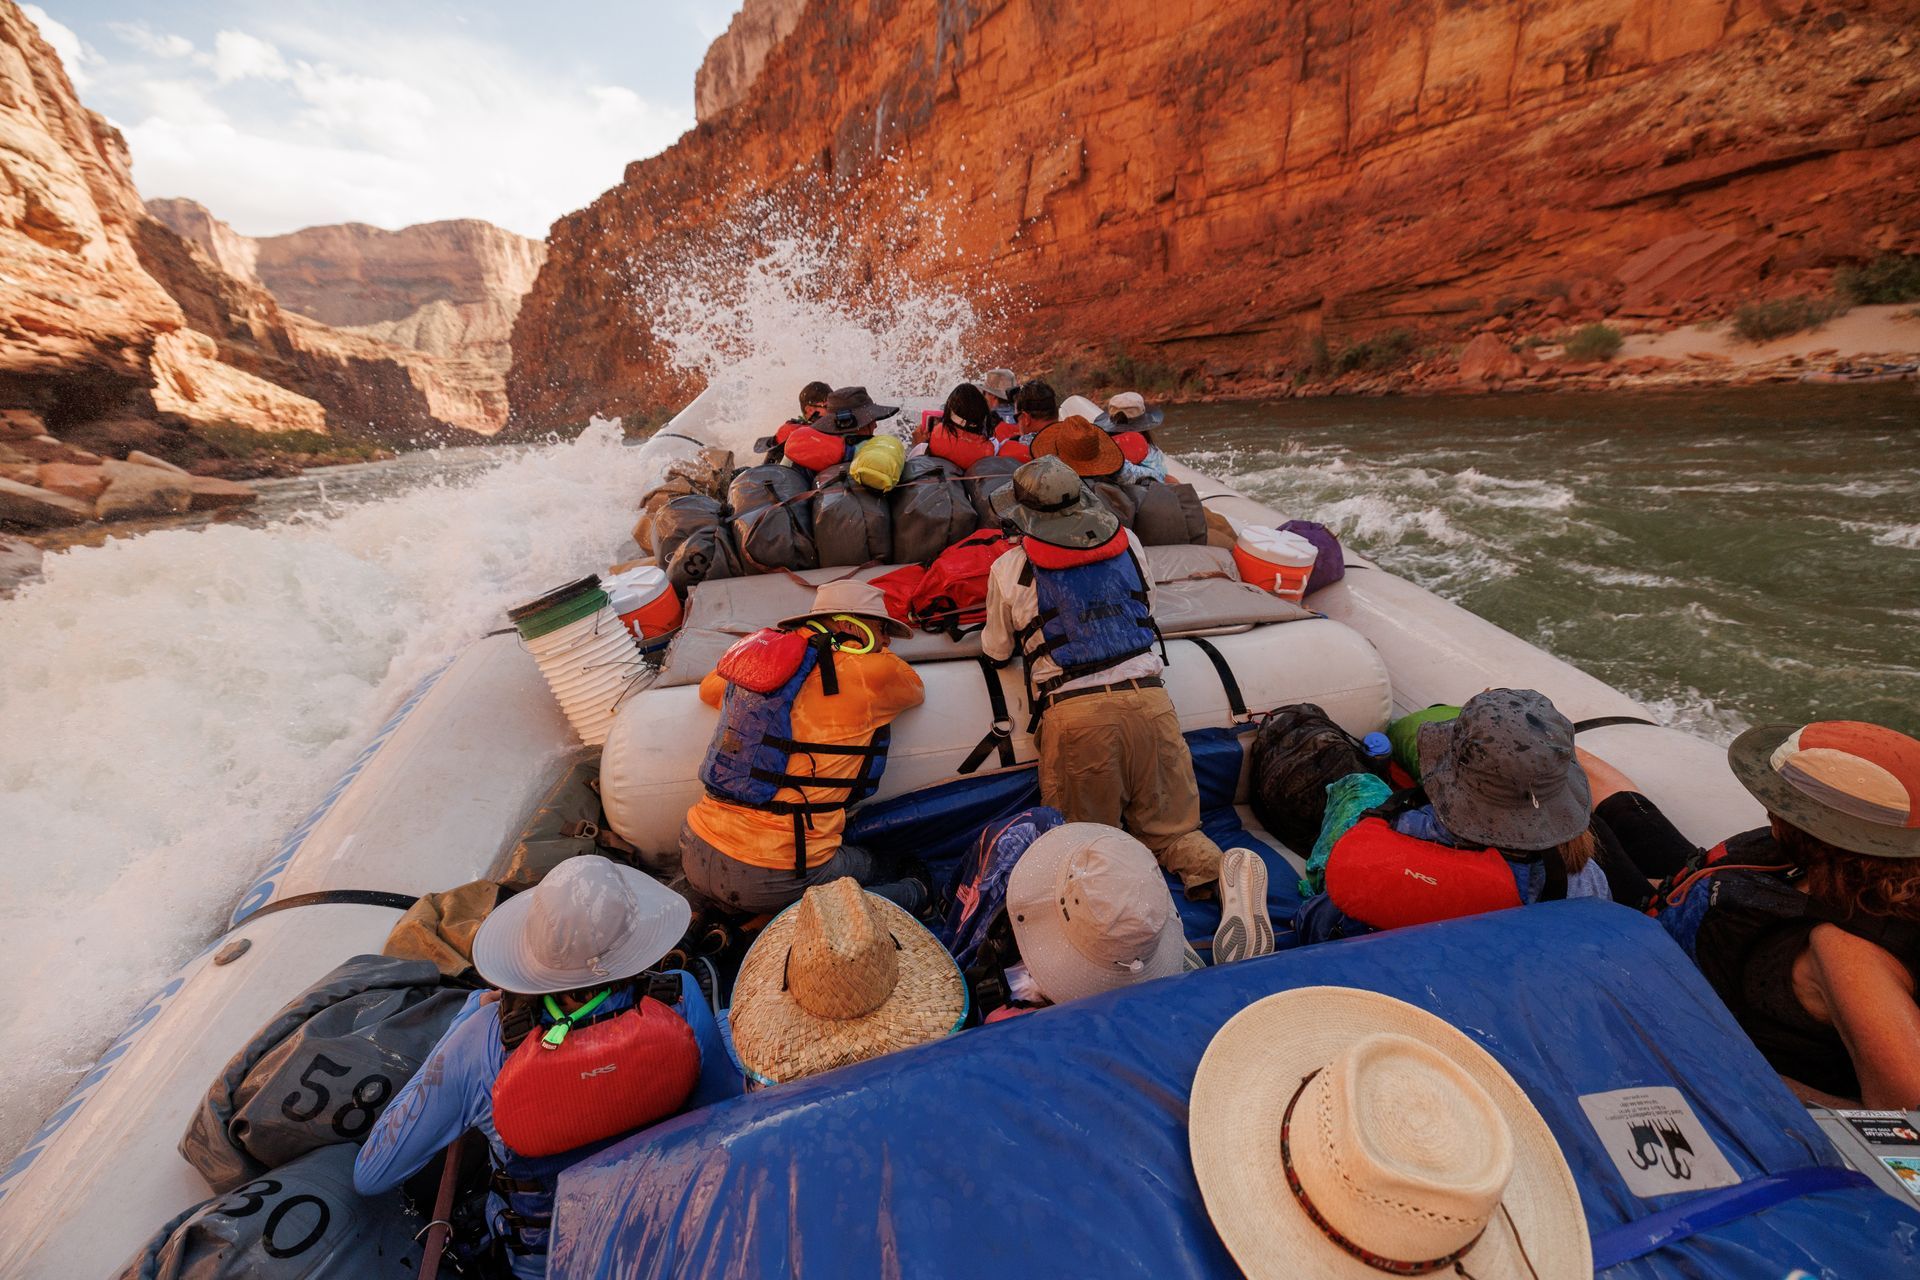
Photos taken from the river feel dynamic and personal. You’re closer to the action, and the perspective changes constantly. Keep your camera ready and settings flexible.
Shoreline shots offer more control. You can slow down, experiment with angles, and wait for the right light. Both perspectives matter, and combining them gives you a fuller visual story of the trip.
Many photographers find that river rafting trips open access to locations that are impossible to reach otherwise, especially in remote sections of the canyon.
Photographing the River as Part of the Experience
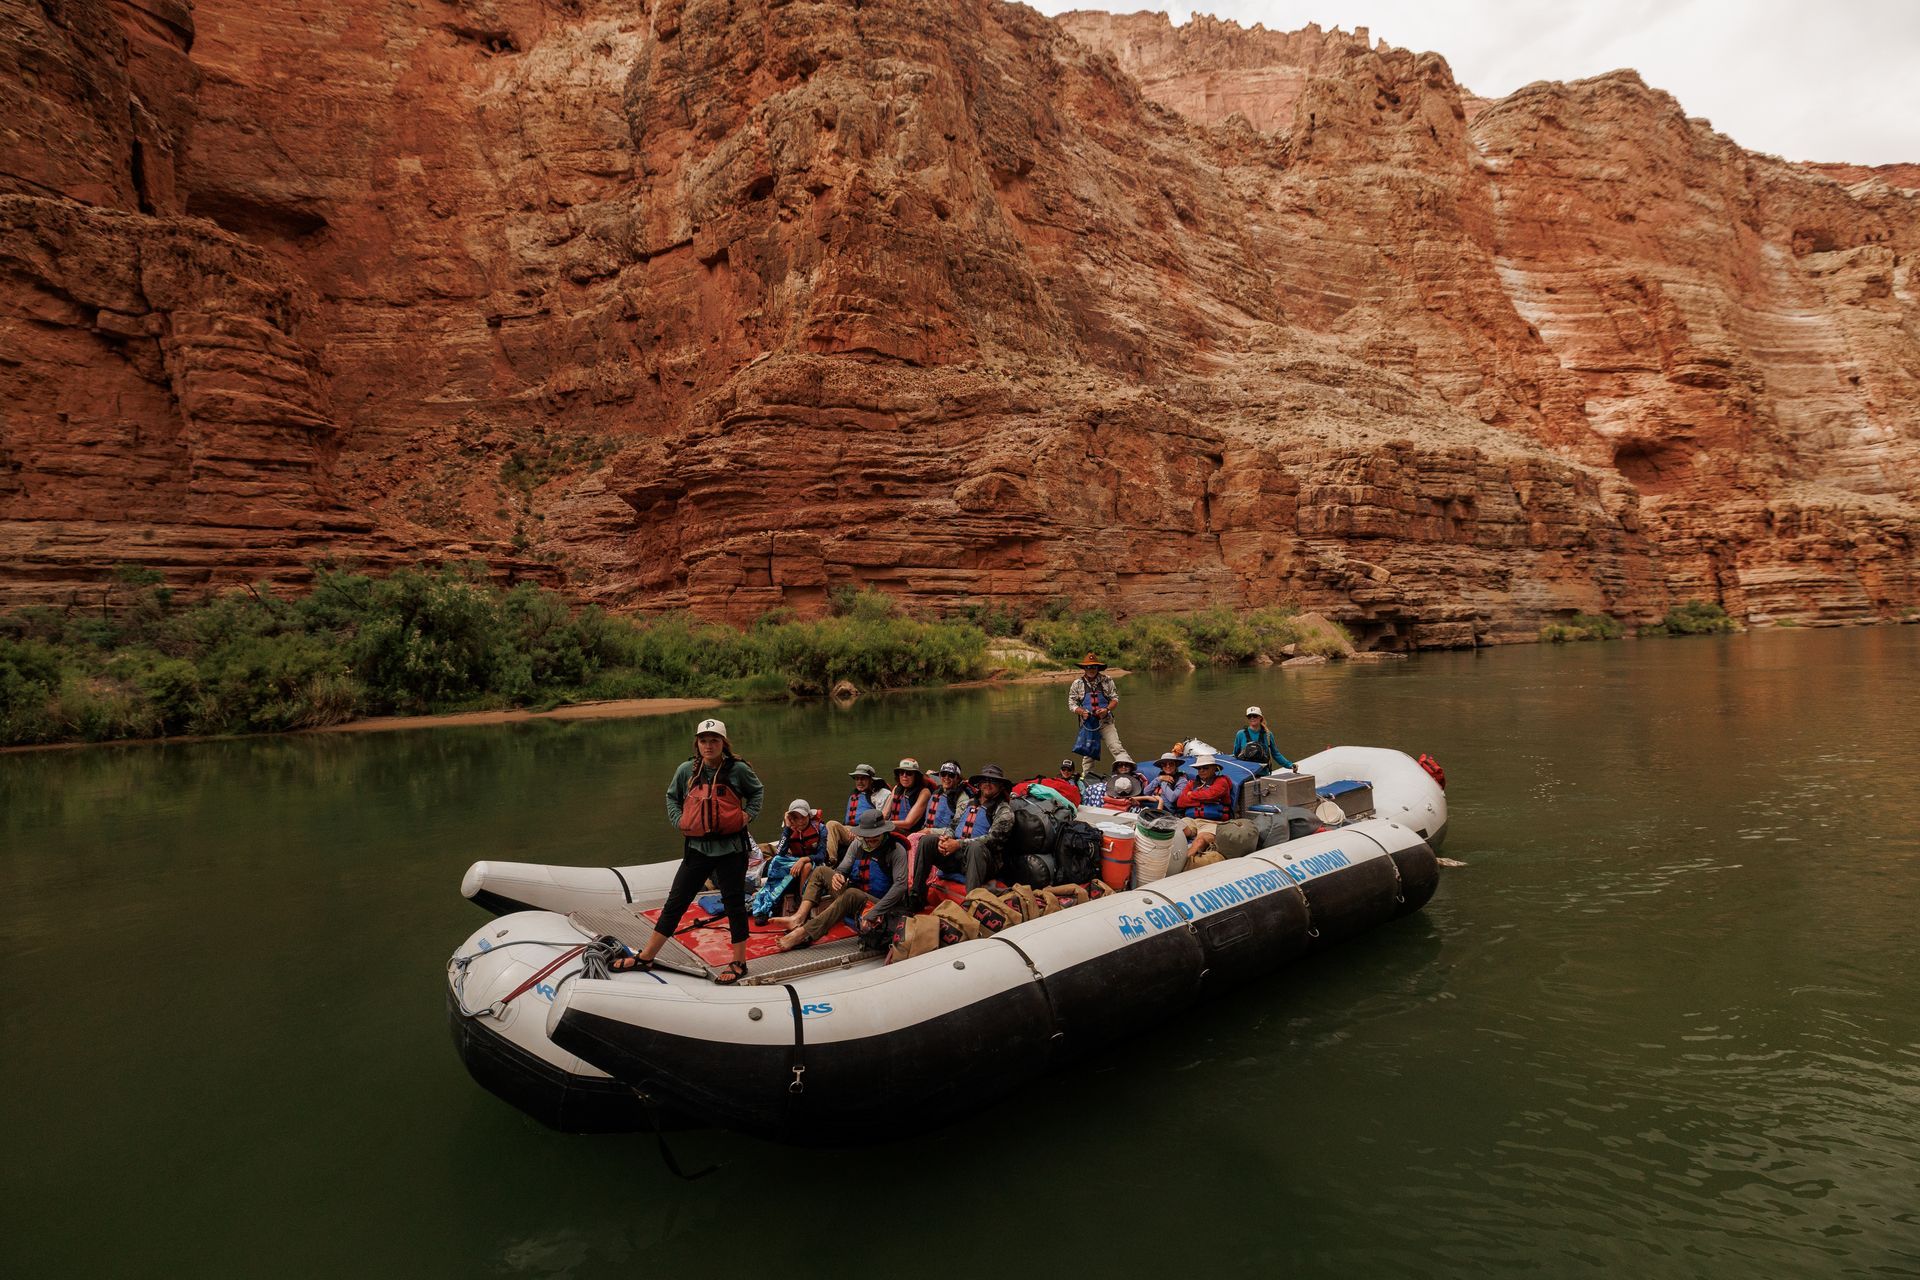
Some of the most memorable river images include people. A paddle dipping into the water. A raft drifting past a sunlit wall. A quiet moment at camp as the river reflects the sky.
These shots tell a story beyond scenery. They capture what it feels like to travel through the canyon, not just what it looks like.
If photography is a main goal of your trip, trips designed around time, access, and slower pacing can make a big difference. Specialized Grand Canyon photography expeditions are built with those moments in mind, allowing more time to shoot during ideal light.
Simple Camera Tips for River Photography
Use a faster shutter speed to freeze splashes and rapids. Slow it down for silky water in calmer sections. Keep ISO flexible as light changes quickly in the canyon.
A polarizing filter can reduce glare on the water and deepen colors, but don’t forget to adjust as light shifts. Most importantly, protect your gear. Dry bags and secure straps are not optional on the river.
Frequently Asked Questions About River Photography
What is the best time of day for river photography in the Grand Canyon?
Early morning and late afternoon usually provide the best light, with softer shadows and warmer tones.
Can you take good photos from a rafting trip?
Yes. Rafting offers unique perspectives and access to remote canyon sections that are impossible to reach on foot.
Do you need professional gear for river photography?
No. A basic camera or even a smartphone can work well if you understand light, composition, and timing.
Is river photography better from the shore or the raft?
Both have advantages. Shooting from the raft captures motion and experience, while shore shots allow more control and stability.
Closing Thoughts
River photography in the Grand Canyon rewards patience and awareness. Light changes fast. Scenes come and go. The best images often happen when you’re ready, watching the river and responding to what it gives you.
If you’re curious how photographers capture these moments deep in the canyon, learning more about Grand Canyon river rafting trips and photography-focused expeditions is a great place to start.
Check out our other Blogs!